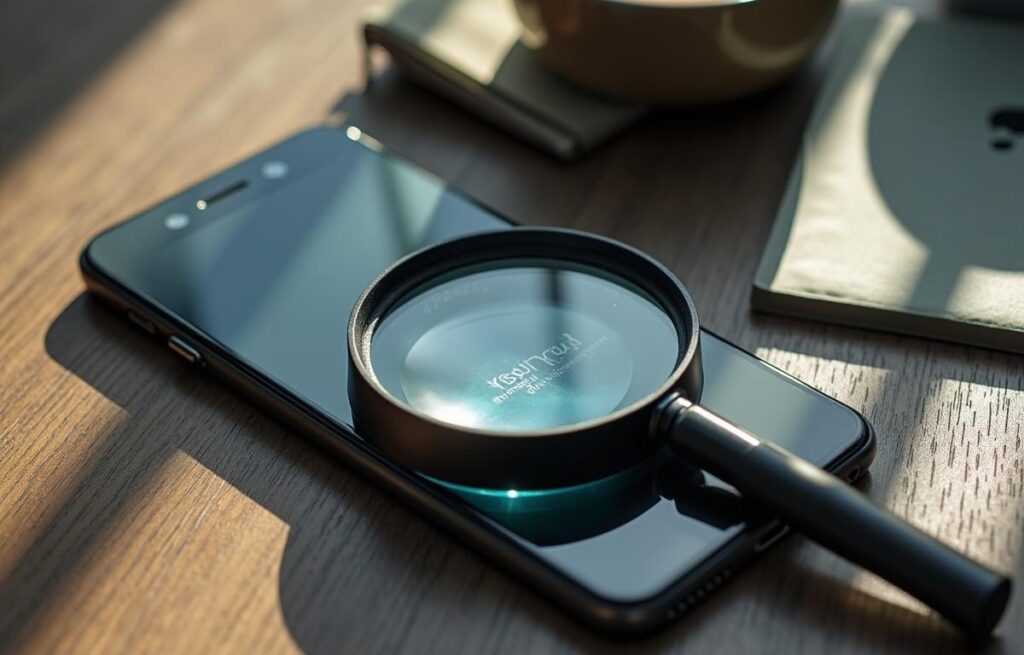
How to Magnify on iPhone
Small text on menus, product instructions, or fine print can be hard to read on your iPhone. Learn how to magnify on iPhone in a way that works like a digital magnifying glass, but most people don’t know about it. This handy feature came with iOS 10 and lets you zoom in on objects with amazing clarity. It’s perfect to use in real-life situations.
The Magnifier app can do much more than you might think, similar to the magnify feature in MacOS. You can adjust zoom levels, use color filters, and even turn on the flashlight to see better in dark places. The app gives you six different ways to access it quickly – you can use Siri or set up a Back Tap shortcut. You can also freeze frames and save images to look at them later.
This piece walks you through all aspects of the iPhone Magnifier app. You’ll find simple setup steps and advanced features that make this tool great to use. The best part is you don’t need any technical knowledge to use it, which makes it perfect for everyone.
Contents
- 1 How to Magnify on iPhone: Getting started
- 2 Ways to Magnify Different Things on Your iPhone
- 3 Using Magnifier features for Better Clarity
- 4 Saving and Managing Images in Magnifier app
- 5 Troubleshooting Common Magnifier Issues
- 6 How to Magnify on iPhone Frequently Asked Question
- 6.1 How do I Activate the Magnifier feature on My iPhone?
- 6.2 Can I Magnify my iPhone’s Entire Screen?
- 6.3 How can I Adjust the Magnification Level and Image Clarity?
- 6.4 Is it Possible to Save Magnified Images for Later Viewing?
- 6.5 What Should I do if the Magnifier App is not Focusing Properly?
- 6.6 Can I Customize the Controls in the Magnifier App?
- 6.7 How Do I Enable Flashlight While Using Magnifier?
- 6.8 Is the Magnifier App Available on All iPhone Models?
- 6.9 Can I Use Filters in Magnifier for Color Blindness or Vision Issues?
- 6.10 How Do I Add Magnifier to My iPhone’s Control Center?
How to Magnify on iPhone: Getting started
The iPhone’s built-in Magnifier app turns your device into a powerful digital magnifying glass. Your iPhone already comes with this handy accessibility tool, similar to Windows for PC users which is also found in ChromeBooks. Let me show you the quickest ways to set up and use this feature.
Enable Magnifier through Settings or Siri
The Magnifier app works on its own, separate from your iPhone’s regular zoom features. You’ll need to set it up before you can start using it.
The simplest way to use Magnifier is through Siri. Just press and hold the side button or say “Hey Siri” and ask to “open Magnifier.” This voice command launches the app right away – perfect when you need to read a menu or check some fine print quickly.
You can also set up a permanent shortcut:
- Open Settings and tap Accessibility
- Select Accessibility Shortcut
- Choose Magnifier from the list of options
Once you’re done, triple-click the side button (Face ID iPhones) or Home button (other models) to launch the app. This works great to read tiny text on product labels or check details on objects.
The Magnifier works differently from your iPhone’s screen zoom feature. Screen zoom makes everything on your display bigger, while Magnifier uses your camera to enlarge objects around you.
Add Magnifier to Control Center for quick access
The Control Center gives you the fastest way to reach Magnifier. Here’s how to add it:
- Go to Settings and tap Control Center
- Scroll down to find Magnifier in the “More Controls” section
- Tap the green plus (+) icon to add it
- You can move it around by dragging the three-line icon
After this setup, just swipe down from the top-right corner (Face ID models) or up from the bottom edge (Touch ID models) to open Control Center. Then tap the magnifying glass icon.
You can also create a Back Tap shortcut to open Magnifier by tapping your iPhone’s back. This feature helps if you want to magnify parts of images or screenshots on iOS 17.
If you use multiple Apple devices, knowing how to use Magnifier on iPhone goes well with understanding zoom features on your Mac. This gives you a smooth experience across all your devices.
The Magnifier app does more than help you read small text. It’s great for checking tiny details on objects, reading contracts, or looking at things from far away – right from the iPhone in your pocket.
Ways to Magnify Different Things on Your iPhone
Your iPhone comes with powerful magnification options that go beyond the basic Magnifier app. The built-in features let you enlarge your screen, zoom into specific image areas, and examine screenshot details with ease. Let’s guide you through all the ways you can make things bigger on your device.
How to Magnify Screen on iPhone Easily
The Zoom accessibility feature lets you enlarge your entire iPhone screen no matter which app you use. This feature works differently from the Magnifier app because it makes everything on your screen bigger instead of using the camera.
Setting up Zoom is quick:
- Go to Settings > Accessibility > Zoom
- Toggle Zoom on
- Adjust additional settings like Follow Focus or Smart Typing
A quick double-tap with three fingers will enlarge your screen once you turn this on. You can move around the zoomed screen by dragging three fingers across it. The feature gives you two zoom options to pick from:
- Full Screen Zoom: Makes your entire screen bigger
- Window Zoom: Creates a movable magnifying glass that enlarges just one area
The Zoom Controller adds even more control with a small floating button on your screen. You can double-tap to zoom or drag it around to see different areas up close.
How to Magnify Part of an Image on iPhone iOS 17
People trying to enlarge specific parts of images on iOS 17 might notice some changes. The Markup’s Magnifier tool used to create a circular zoom area on any image section. The tool seems missing in iOS 17 even though Apple’s documentation still mentions it.
Here’s what you can do instead:
- Open the image in Photos
- Pinch to zoom into specific areas
- Take a screenshot of the zoomed section if you need it
Mac users running macOS 13.6 or earlier can still access the Magnifier markup tool. Any changes made on your Mac will show up on your iPhone through iCloud sync.
How to Magnify Screenshot on iPhone without Extra Apps
Taking a closer look at screenshots helps highlight important details. Your iPhone lets you zoom into screenshots without downloading any new apps.
Here’s a simple way to magnify screenshots:
- Press the side button and volume up button at once to take a screenshot
- Tap the preview in the bottom left corner
- Tap the plus (+) icon in the bottom toolbar
- Select “Magnifier” from the menu
- Place the circular magnifier where you want it
- Use the green dot to zoom in or out
- Use the blue dot to change the magnifier’s size
- Tap “Done” to save your work
This method works great to emphasize text or details in screenshots, which helps create better tutorials or highlight key information.
These magnification features make it easier to read small text and look at photos in detail. They work smoothly with other accessibility options to give you a better viewing experience on your iPhone.
Using Magnifier features for Better Clarity
The Magnifier app does more than just make things bigger—it makes them clearer too. You can do amazing things with your iPhone’s magnification features once you learn the basics. The app comes with powerful tools that make everything easier to see and read. It’s perfect for many situations, from checking fine print to looking at tiny details.
Adjust Zoom, Brightness, and Contrast
The Magnifier app is easy to use. Just point your iPhone camera at what you want to see better. The zoom slider at the bottom of your screen lets you control magnification. Slide left to zoom out or right to zoom in—you can magnify things up to 10 times their normal size.
Your view needs to be crystal clear. The brightness icon (sun symbol) and contrast icon (half black, half white circle) reveal adjustment sliders that help you see better. These controls really shine when you’re dealing with dim text or hard-to-see images. The slider disappears when you tap the icon again.
Apple lets you save your favorite settings as custom “Activities” for tasks you do often. This feature is a great way to get quick access to specific settings you need regularly, like reading menus or checking product labels.
Apply Color Filters for Easier Reading
Color filters make a huge difference in how you see magnified images on your iPhone. They reduce eye strain and improve contrast. The filter icon (three intersecting circles) gives you access to different options with a simple swipe.
The app includes several helpful filters:
- Grayscale to cut down on distractions
- Red on black, yellow on black, or white on blue for better contrast
- Inverted colors to cut down screen glare
- Blue on white that’s easy on your eyes
These filters work great with captures and freeze frames, but they won’t stick around if you save images to your Photos app. You can pick which filters show up in your list through the settings menu. Remove the ones you don’t use to keep things simple.
Use Flashlight and Focus Lock for Dark Places
The Magnifier really shines in dark places with two key features. The flashlight icon turns on your device’s LED light, which helps you read menus in dark restaurants or see small text in dim lighting.
The focus lock feature keeps your view steady. Just tap the lock icon and your camera won’t try to refocus if your hand moves a bit. This helps a lot when you’re looking at moving objects or need to hold steady while zooming in on specific details.
If you use multiple Apple devices, these features work well with Mac’s zoom functions. Apple’s consistent design means skills you learn on one device work smoothly on others.
These clarity features turn your iPhone’s Magnifier from a basic zoom tool into a complete vision assistant. It helps with everything from reading tiny text to examining details or getting a closer look at screenshots.

Saving and Managing Images in Magnifier app
The Magnifier app takes iPhone magnification to a whole new level. You can view magnified content live and save it for later, which makes this tool perfect for everyday use.
Freeze Frame to Capture a Still Image
The freeze frame function comes in really handy when you struggle to hold your device steady. You can start by opening the Magnifier app and pointing your device at the text or object you want to get a closer look at. The circular capture button at the bottom of your screen lets you take the shot once everything lines up.
Your frozen frame gives you several options:
- The text icon formats captured text so it’s easier to read
- A share button sends the image to others
- You can save the frame to your photos library
- The unfreeze button takes you back to the live camera
This feature is a great way to get a detailed look at something without keeping your device perfectly still. Your frozen image stays on screen until you unfreeze it or close the app.
Save and Review Multiple Frames inside Magnifier
The Magnifier app lets you work with multiple frames in one session. The multi-photo mode icon activates this feature right after you open the app. Once it’s on, you can take as many shots as you need by tapping the capture button.
A small thumbnail shows your frame count as you take pictures. The “View” button followed by the image number lets you check your saved images. You can move between frames with a simple left or right swipe.
These images stay in the Magnifier app instead of filling up your Photos library. This setup works better when you need to magnify screenshots or look up text later. Users who need to magnify screen content will find this multi-frame approach works better than zooming on a MAC and moving images between devices.
A quick tap on the “X” button clears your session so you can start fresh with your next magnification task
Troubleshooting Common Magnifier Issues
iPhone users might face challenges with the Magnifier feature, even with plenty of experience. A quick fix to these common problems will get you back to viewing fine details and reading small text.
Magnifier Not Opening or Missing
The Magnifier app might be hard to locate on your iPhone sometimes. Try searching for it by swiping down on your home screen and typing “Magnifier”. You could also ask Siri to “Open Magnifier”. The app might be missing from Control Center. Check Settings > Control Center to find the magnifying glass icon in your included controls.
The triple-click shortcut might stop working for some users. Head to Settings > Accessibility > Accessibility Shortcut to make sure Magnifier is selected. If problems persist, try turning the Accessibility option off and on again. Many users find better results by launching the magnifier straight from Control Center.
Magnifier Blurry or not Focusing Properly
Blurry images can frustrate anyone using the Magnifier. The camera lens might just need a quick wipe with a dry microfiber cloth. Smudges, fingerprints, or dust often cause poor image quality.
The image still looks blurry? Try these steps:
- Force-close and restart the Magnifier app
- Look for camera lens obstruction from your phone case
- Restart your iPhone
- Set the focus point by tapping the screen
- Check if AE/AF lock needs to be disabled
iOS 17 users might notice focusing issues with partial image magnification. The solution could be in your Camera settings. Go to Settings > Camera and look for the Macro Control toggle to turn it off.
Linking Magnifier with Zoom In on a MAC for Better Workflow
Your workflow becomes smoother by connecting iPhone’s Magnifier feature with your Mac. This setup lets you examine detailed content on your iPhone and continue viewing it on your Mac for extended work.
iCloud syncs your Magnifier captures automatically across devices. This feature helps especially when you need to capture magnified screenshots on your iPhone before moving them to your Mac for editing or adding to documents.
Device-switching becomes easier once you learn both iPhone’s Magnifier and Mac’s zoom features. This knowledge gives you a consistent experience whatever device you choose to use.
How to Magnify on iPhone Frequently Asked Question
How do I Activate the Magnifier feature on My iPhone?
To activate Magnifier, open Control Center and tap the magnifying glass icon. Alternatively, you can ask Siri to “Open Magnifier” or set up a triple-click shortcut in Accessibility settings.
Can I Magnify my iPhone’s Entire Screen?
Yes, you can magnify the entire screen using the Zoom feature. Go to Settings > Accessibility > Zoom, then toggle it on. Use a three-finger double-tap to zoom in and out.
How can I Adjust the Magnification Level and Image Clarity?
In the Magnifier app, use the zoom slider at the bottom to adjust magnification. Tap the brightness and contrast icons to fine-tune image clarity. You can also apply color filters for better visibility.
Is it Possible to Save Magnified Images for Later Viewing?
Yes, you can freeze frames and save multiple images within the Magnifier app. Tap the capture button to freeze a frame, and use the multi-photo mode to capture a series of images for later review.
What Should I do if the Magnifier App is not Focusing Properly?
If the Magnifier is blurry, first clean your camera lens. You can also try force-closing and restarting the app, manually tapping the screen to set focus, or disabling the AE/AF lock if it’s enabled.
Can I Customize the Controls in the Magnifier App?
Yes, you can customize the Magnifier controls by tapping the settings gear icon within the app. From there, you can add or remove features like flash, filters, contrast, and zoom controls to tailor the interface to your needs.
How Do I Enable Flashlight While Using Magnifier?
To turn on the flashlight in Magnifier, tap the flashlight icon in the Magnifier toolbar. This feature is helpful in low-light conditions and can be toggled on or off as needed during magnification.
Is the Magnifier App Available on All iPhone Models?
The Magnifier app is available on iPhones running iOS 14 and later. However, performance and available features may vary depending on your iPhone model. Devices with newer cameras generally offer better clarity and stabilization.
Can I Use Filters in Magnifier for Color Blindness or Vision Issues?
Yes, the Magnifier app includes visual filters that can assist users with color blindness or other vision difficulties. Tap the filters icon to choose from options like grayscale, red/black, yellow/blue, and more for enhanced contrast and readability.
How Do I Add Magnifier to My iPhone’s Control Center?
Go to Settings > Control Center > Customize Controls, then tap the green plus icon next to Magnifier. Once added, you can quickly access it from the Control Center by swiping down from the top-right corner of the screen.